How to Do Eye Makeup Like a Pro: Step-by-Step Guide for Smokey Eyes, Big Eyes & More
Ever peeked at a beauty guru on YouTube and thought, “How do they make it look so effortless?” Truth bomb: they weren’t born with a blending brush in hand—they practiced, and you can too. Whether you’re going for soft everyday glam, dramatic smokey eyes, or that wide-eyed doll look, this step-by-step beginners guide will walk you through everything.
From tools to techniques, we’ve laid it all out like your best friend giving you a personalized eye makeup masterclass. Let’s dive right into the world of flawless eyes!
3 FREE Perfume Samples
We’ve recently created a Whatsapp group for beauty enthusiasts like you! To grow this community we temporarily offer 3 free perfume samples when you join!
Make sure to join asap, we’re running out of free samples soon! After joining, you can place an order and claim the random free samples.

Why Eye Makeup Is the Centerpiece of Every Look
Think of eye makeup as the plot twist in your beauty story—it can be subtle, sultry, striking, or straight-up sizzling. A flick of eyeliner or a shimmer on your lid speaks louder than lipstick sometimes. Our eyes convey emotion, attitude, and even mystery. So, it makes sense they deserve a little VIP treatment.
Essential Tools & Products You’ll Need
Here’s what you’ll need to do your (own) makeup like a pro.
Eye Brushes & Applicators
You wouldn’t paint a masterpiece with a toothpick, right? Here’s what you’ll actually use:
- Fluffy blending brush – for softening edges
- Flat shader brush – to pack on pigment
- Angled brush – for defining brows or lining
- Detail/smudge brush – for precise work and under-eye smokes
Primers, Palettes & Setting Sprays
Don’t forget:
- Eye primer (a must for staying power)
- A good eyeshadow palette with mattes, shimmers, and dark tones
- Setting spray for that just-applied finish that lasts all day
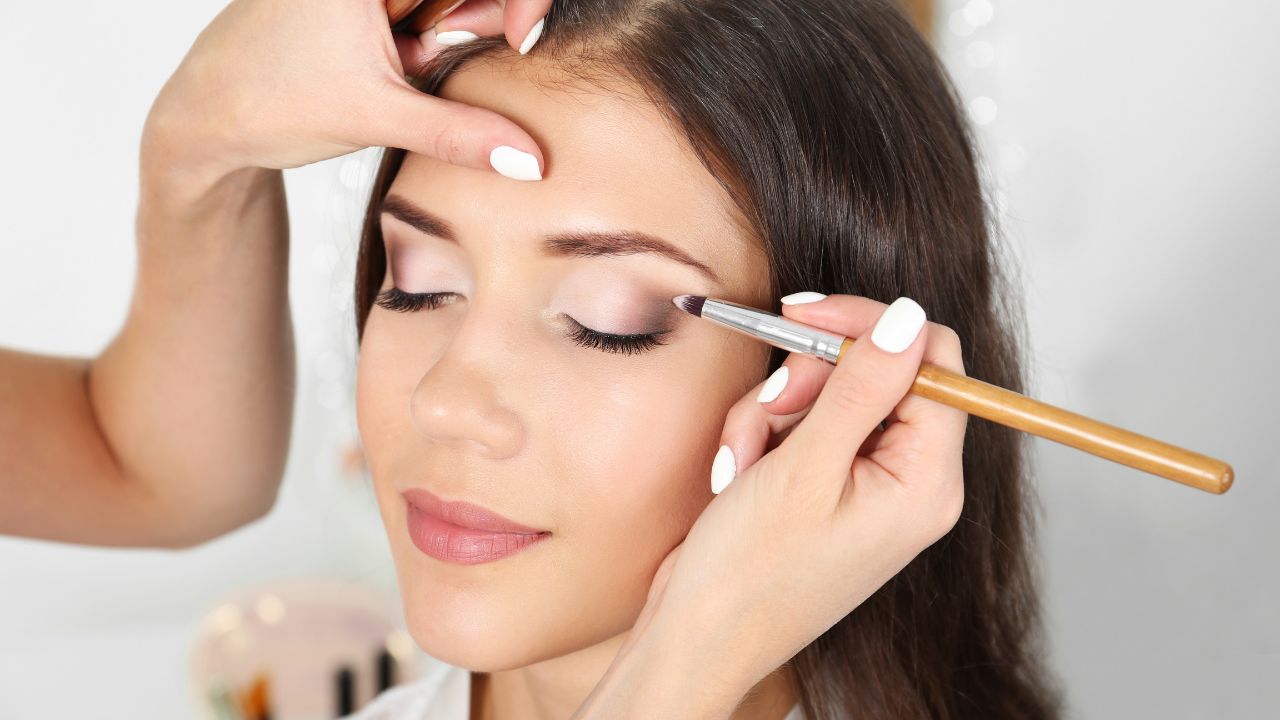
Basic Eye Makeup: Step-by-Step Tutorial
- Prep & Prime: Use an eye primer or dab concealer over your lids. Set it lightly with powder—think of it as laying a smooth canvas.
- Transition Shade: Grab a light brown or taupe matte and sweep it into the crease. Use windshield wiper motions—no harsh lines.
- Crease Work: Apply a slightly darker shade just below the transition to carve depth. Blend it upward subtly.
- Lid Application: Choose a shimmer or satin for the lid. Press it on gently with a flat brush or your fingertip.
- Blend & Highlight: Blend edges softly. Then highlight your inner corners and brow bone with a pearl or champagne tone.
- Eyeliner & Mascara: Line your upper lash line, keep it thin if you’re a beginner. Apply mascara in a zigzag motion for lift and separation.
Now that you know the basics, let’s continue with a step by step beginner’s guides on how to do your own makeup like a pro.
Smoky Eyes Makeup: Step-by-Step Tutorial
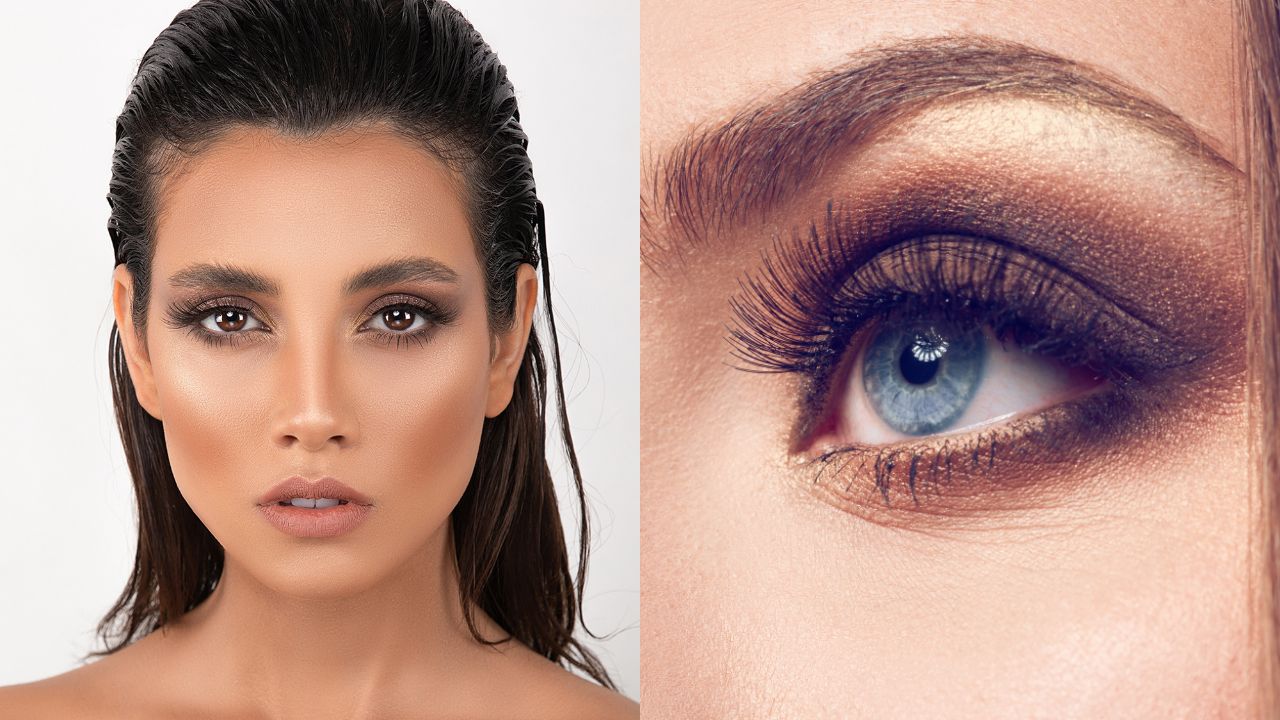
- Prep & Prime: Apply a primer and neutral base color all over the lid.
- Build Depth: Apply a medium-dark matte to the crease. Use black or deep plum on the lid and blend it into the crease.
- Smoke Out the Edges: Use a clean brush to soften the edges—think smolder, not smudge.
- Add Liner & Smudge: Line your upper and lower lash lines. Smudge it out with a pencil brush for that iconic haze.
- Lash It Up: Add mascara and, if you’re feeling brave, pop on a wispy lash for red-carpet drama.
Semi-Cut Crease Eye Makeup: Step-by-Step Tutorial
- Prep & Prime: Apply eye primer all over your lid and up toward the brow. Set lightly with translucent powder.
- Carve a Soft Half Cut: Using a small, flat brush and a bit of concealer, carve out half your lid, stopping at the center. Think “half-moon shape” from the inner corner to the center lid.
- Blend Crease & Outer Corner: Deepen the crease and outer V using matte shadows in neutral or smoky tones. Blend them toward the cut crease’s edge for a smooth fade.
- Highlight the Lid: Pat a shimmer or metallic shadow onto the freshly carved lid area for brightness and contrast.
- Final Touches: Add a small wing if desired, then finish with mascara or falsies.
Halo Eye Makeup: Step-by-Step Tutorial
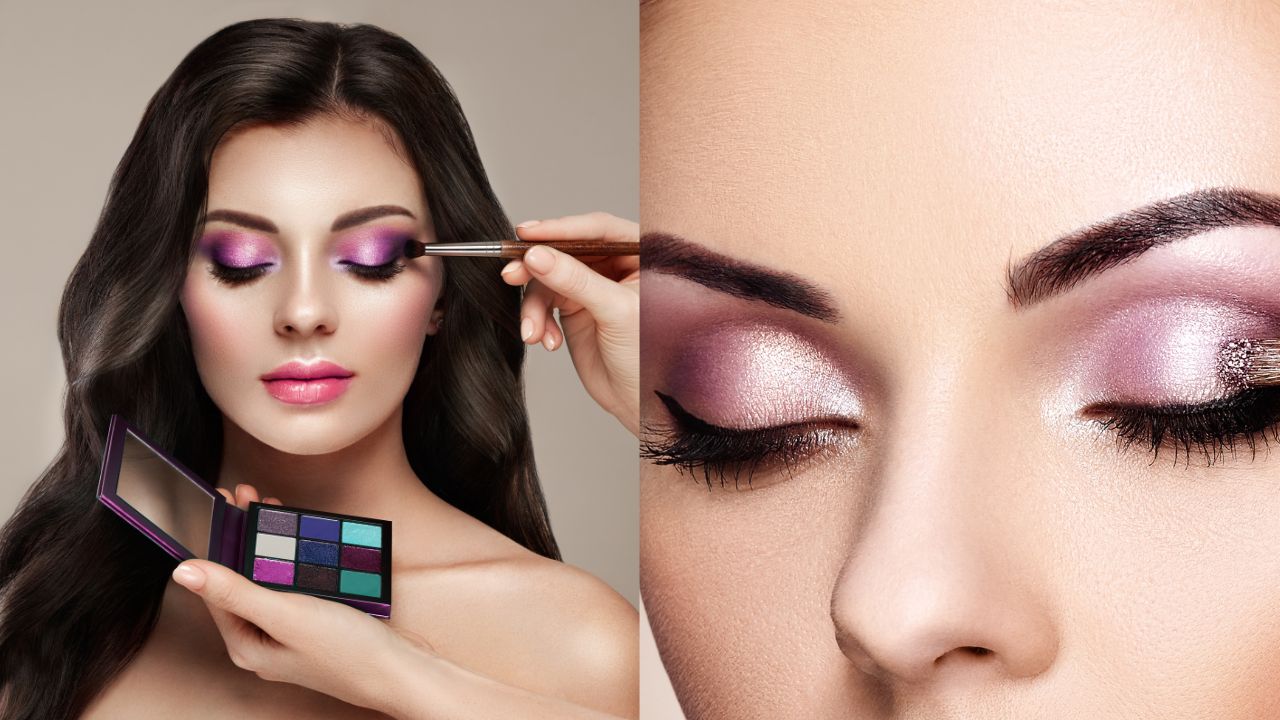
- Prime & Set: Prime your entire eyelid and set with a nude base color.
- Deepen Inner and Outer Corners: Using a small, dense brush, apply a darker shade to both the inner and outer corners of your eye. Leave the center bare.
- Highlight the Center Lid: Tap a lighter shimmer or metallic shadow right onto the center lid where no shadow was applied. This creates the “halo” glow effect.
- Blend for a Seamless Halo: Using a clean blending brush, gently merge the dark corners into the lighter center without overpowering the brightness.
- Liner & Mascara: Softly line the upper lash line and finish with several coats of mascara to dramatize the center-focus effect.
Full-Cut Crease Eye Makeup: Step-by-Step Tutorial
- Sketch the Crease Line: Using a small pencil brush and a medium-to-dark shadow, sketch above your natural crease. This defines where your cut will go.
- Cut with Concealer: Using a flat synthetic brush and a creamy concealer, cut from the inner to outer corner following the line you sketched. Cover the entire mobile lid.
- Fill in with Lid Color: Pat a bright, light, or metallic eyeshadow over the concealed area for dramatic contrast.
- Deepen the Crease: Use a small blending brush to re-intensify the crease line with darker shadows for full definition.
- Define & Finish: Add eyeliner, lashes, and inner corner highlights to polish the look.
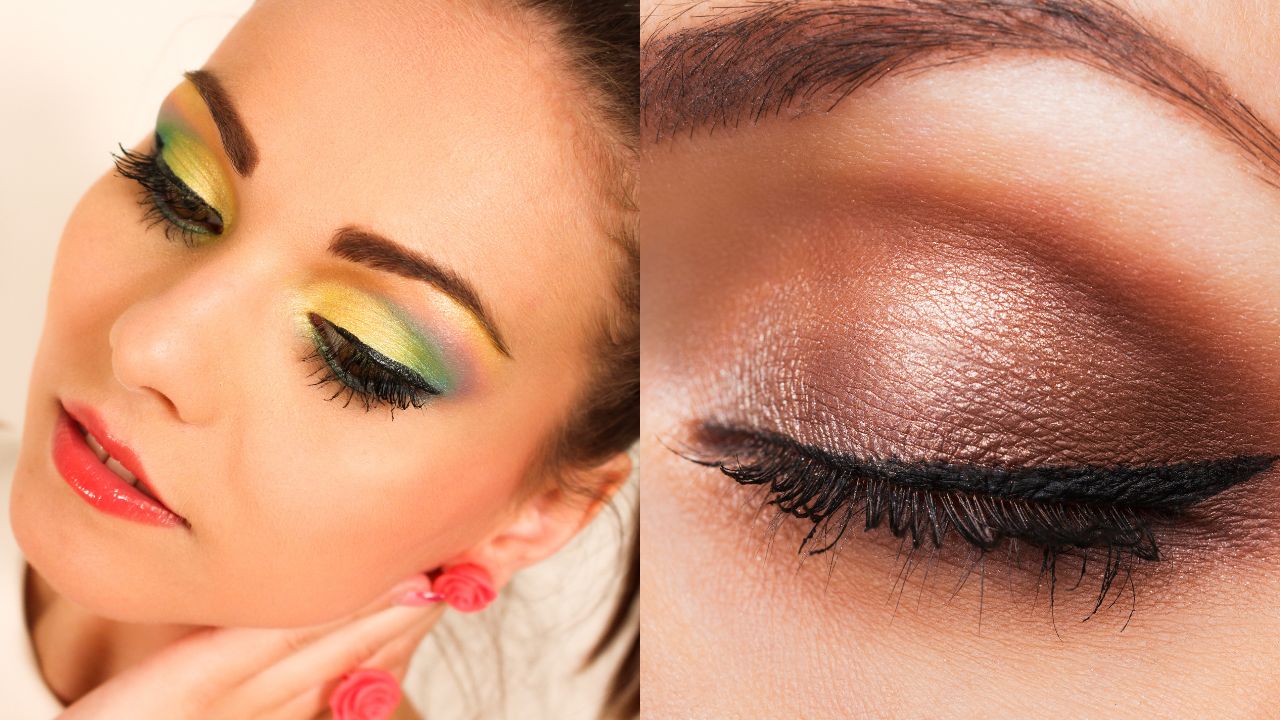
Gradient Eye Makeup: Step-by-Step Tutorial
- Prep & Prime: Prime your lids to prevent patchiness and extend wear.
- Choose 3 or More Colors: Pick shades in a gradient: light (inner), medium (center), dark (outer). Examples include: (Champagne > Rose > Plum) and (Gold > Copper > Chocolate).
- Apply Lightest to Darkest: Apply the lightest shade near the inner corner. Gradually apply medium, then darker shades toward the outer V.
- Seamless Blending: Blend each color into the next with small, circular motions to create an invisible transition between colors.
- Lash & Line: Tightline with dark pencil liner and apply mascara to tie the look together beautifully.
Big Eyes Makeup: Step-by-Step Tutorial
- Brighten the Waterline: Line your lower waterline with a nude or white pencil. Instant eye-opener!
- Focus on the Center Lid: Use a light shimmer right in the middle of the eyelid to bring it forward.
- Highlight Strategically: Highlight the inner corners and under the brow arch to add dimension.
- Mascara for Wide-Eyed Wonder: Apply one coat of mascara, then focus a second coat on the center lashes only. Optional: corner lashes for extra pop.
Hooded Eyes Makeup: Step-by-Step Tutorial
- Prime Above the Fold: Blend primer above the natural crease to avoid smudging.
- Elevated Crease Technique: Place the crease shade above the hood to fake a higher lid space.
- Thin Liner, Big Impact: Stick with thin eyeliner and flick it slightly upward to avoid closing off the eye.
Monolid Eyes Makeup: Step-by-Step Tutorial
- Gradient Lid Focus: Use a darker shade close to the lash line, fading it upward for dimension.
- Gel Liner Control: Use gel or pencil liners for better hold on lids with less crease definition.
- Flutter Lashes Finish: Choose natural-looking lashes or apply mascara with focus on volume at the base.
Eye Makeup Tips Every Beauty Lover Should Know
Want to take your eye makeup from “nice” to “whoa, did you get that done professionally?” These tried-and-true tips will help you finesse every flick, fan, and fade.
Eyeliner Hacks That Actually Work
- Use dots for beginners: If you struggle with liquid liner, start with small dots along your lash line and connect them.
- Balance your wing: Always angle your wing toward the tail of your brow. It gives a natural lift.
- Layer for longevity: Set pencil liner with a matching eyeshadow to stop it from smudging throughout the day.
- Smokey shortcut: Smudge a pencil liner with your finger or brush for an effortless lived-in look.
Mascara Application Secrets
- Curl before coating: Heated lash curlers or warmed standard curlers create a longer-lasting lift.
- Zig-zag method: Wiggle your wand at the base of your lashes and sweep upward to avoid clumps and create fullness.
- Use a lash comb: For super clean definition, especially if you’re applying multiple coats.
- Don’t pump the wand: This lets air in and dries out your mascara faster. Instead, swirl it inside the tube.
Blending Like a Boss
- Light hand = flawless blend: Hold your blending brush near the end—this gives you a gentler touch and better control.
- Use a clean brush: Blending with a brush that already has product can muddy your look. Keep one just for blending.
- Start with less: You can always build more color, but it’s hard to fix when you’ve gone too dark too fast.
Make It Last All Day
- Primer is essential: Always prime your eyelids, even if you’re only applying one shade.
- Powder your liner: Want your liner to stay put all day? Dust translucent powder over it after application.
- Set everything: Use setting spray on a clean brush and dab it gently over your shadow for long-wear performance.
Brighten & Lift Tricks
- Nude liner in the waterline: Instantly opens up the eyes and makes you look more awake.
- Highlight inner corners: Use champagne or ivory shimmer to make your eyes pop.
- Lift with shadow: Extend your crease shade slightly upward and outward to give the illusion of lifted eyes.
Celebrity-Inspired Eye Makeup Looks You Can Copy

Zendaya’s Smokey Bronze
- Use warm browns and rich bronze tones.
- Blend a shimmer across the lid and a matte brown into the crease.
- Tightline with a dark brown pencil and top with fluttery lashes.
Taylor Swift’s Cat Eye
- Draw a precise, thin black wing with liquid liner.
- Keep eyeshadow minimal—think soft champagne tones.
- Layer black mascara on top lashes only.
Kim Kardashian’s Nude Glam
- Use matte nude shades from crease to lid.
- Apply a tiny bit of golden shimmer to the center of the lid.
- Tightline and apply lashes for a soft glam finish.
Learning how to do eye makeup like a pro is a journey, not a sprint. Every liner mistake, every mismatched crease shade—it’s all part of your glow-up story. With practice, the right tools, and a little bit of creativity, you’ll not only master the basics but also create looks that tell your own unique story.
Remember: eyes are the windows to the soul…and your makeup? It’s the gorgeous curtain framing the view. So, get those brushes ready, and paint your masterpiece.
yoh7dg
kgi0on
hrjbjz
9kc7ru
26ob1d
re118c
sll94n
Yeah bookmaking this wasn’t a speculative conclusion outstanding post! .
by2zfy
I will right away grab your rss feed as I can’t find your e-mail subscription link or e-newsletter service. Do you have any? Please let me know in order that I could subscribe. Thanks.