Mastering Highlighter: Tips & Tricks for Every Skill Level
Want that fresh, lit-from-within glow? Highlighter is your secret weapon. Whether you’re a beginner just dipping into the world of makeup or a pro looking to refine your technique, this guide covers everything you need to know about applying highlighter like a beauty guru.
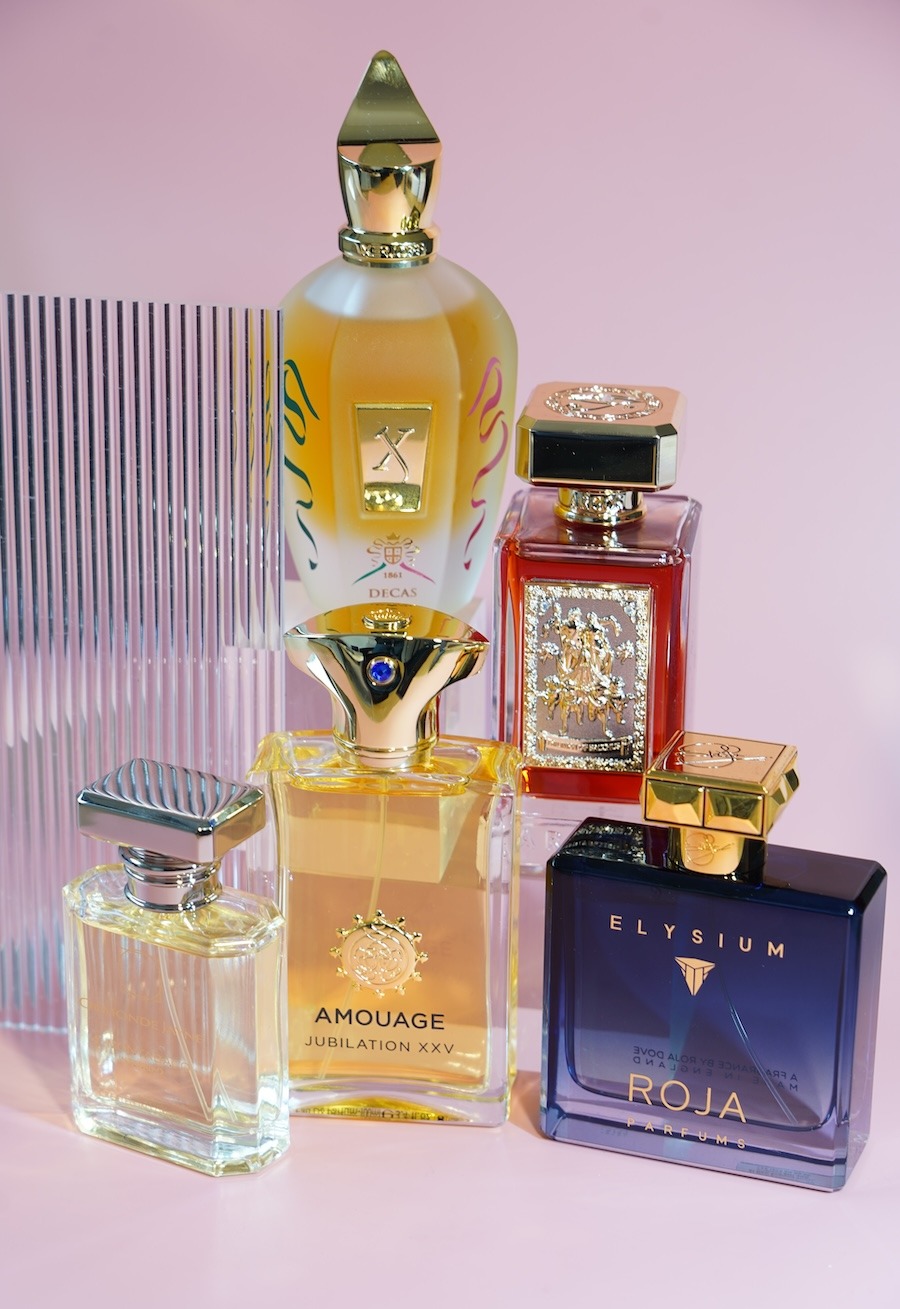
3 FREE Perfume Samples
We’ve recently created a Whatsapp group for beauty enthusiasts like you! To grow this community we temporarily offer 3 free perfume samples when you join!
Make sure to join asap, we’re running out of free samples soon! After joining, you can place an order and claim the random free samples.
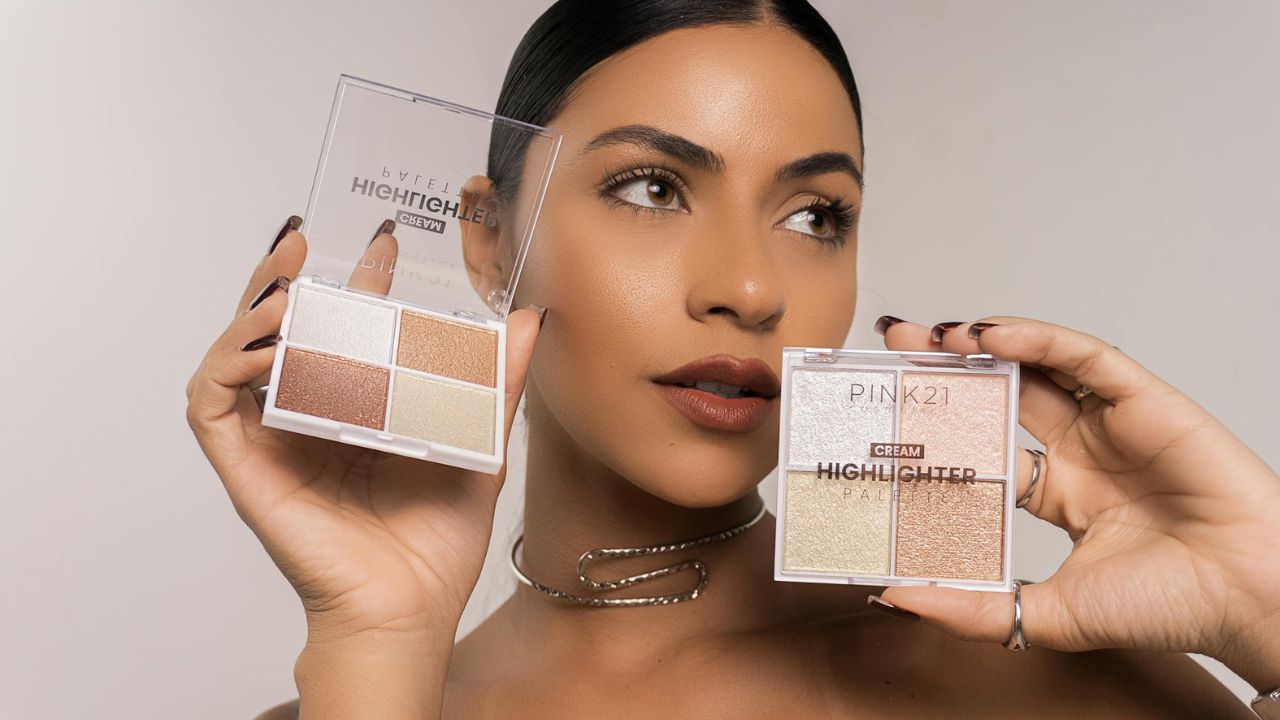
What Is Highlighter Makeup
Highlighter is a makeup product designed to enhance your features by catching light. It adds dimension, making your skin look healthy, lifted, and luminous. Unlike contour, which creates shadows, highlighter brings forward areas you want to emphasize, such as think cheekbones, brow bones, and the bridge of your nose.
Where to Apply Highlighter on Your Face
A well-placed highlighter can transform your look from flat to glowing in seconds. But where exactly should you apply it?
- Cheekbones: Lifts the face and adds structure.
- Brow bones: Brightens the eye area and enhances definition.
- Inner corners of the eyes: Instantly makes eyes look more awake.
- Bridge of the nose: Adds a sculpted look without heavy contouring.
- Cupid’s bow: Creates the illusion of fuller lips.
- Chin: Balances out the glow for a cohesive look.
- Collarbones and shoulders: Perfect for a radiant body glow.
How to Choose Your Highlighter Shade
Picking the right shade makes all the difference. The wrong one can look too stark or ashy. Fair skin tones suit icy or pearlescent shades, while light to medium skin works best with champagne, soft peach, or light gold.
If you have tan to deep skin, opt for rich golds, coppers, or warm bronzes. For a universally flattering shade, rose gold and sheer opalescent hues work across multiple skin tones.
Types of Highlighter for Each Skin Type
Not sure which formula works best for you? It all comes down to skin type and the look you want.
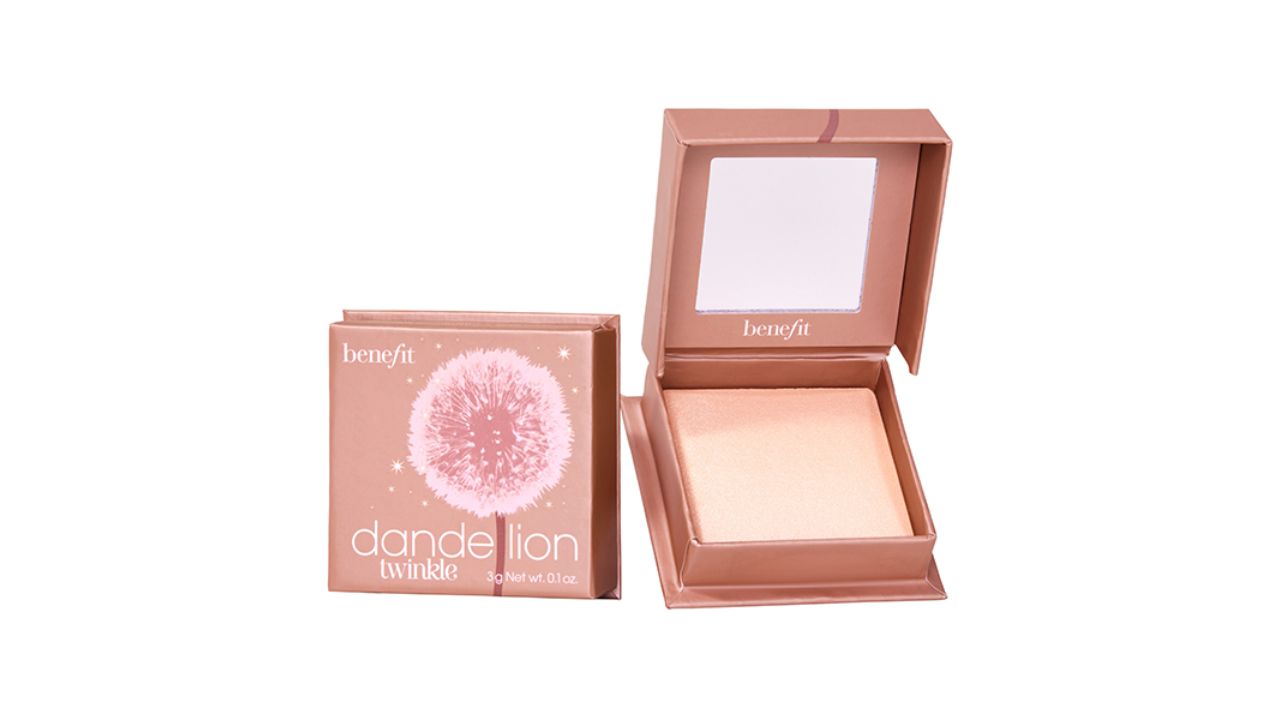
- Powder highlighter: Best for oily or combination skin. It’s easy to apply, blends well with a brush, and allows for buildable radiance.
- Liquid highlighter: Ideal for dry or normal skin. It gives a seamless, dewy finish and can even be mixed with foundation for an all-over radiance.
- Cream highlighter: Offers a natural, skin-like finish and melts into the skin for a soft sheen. Best applied with fingers or a damp sponge.
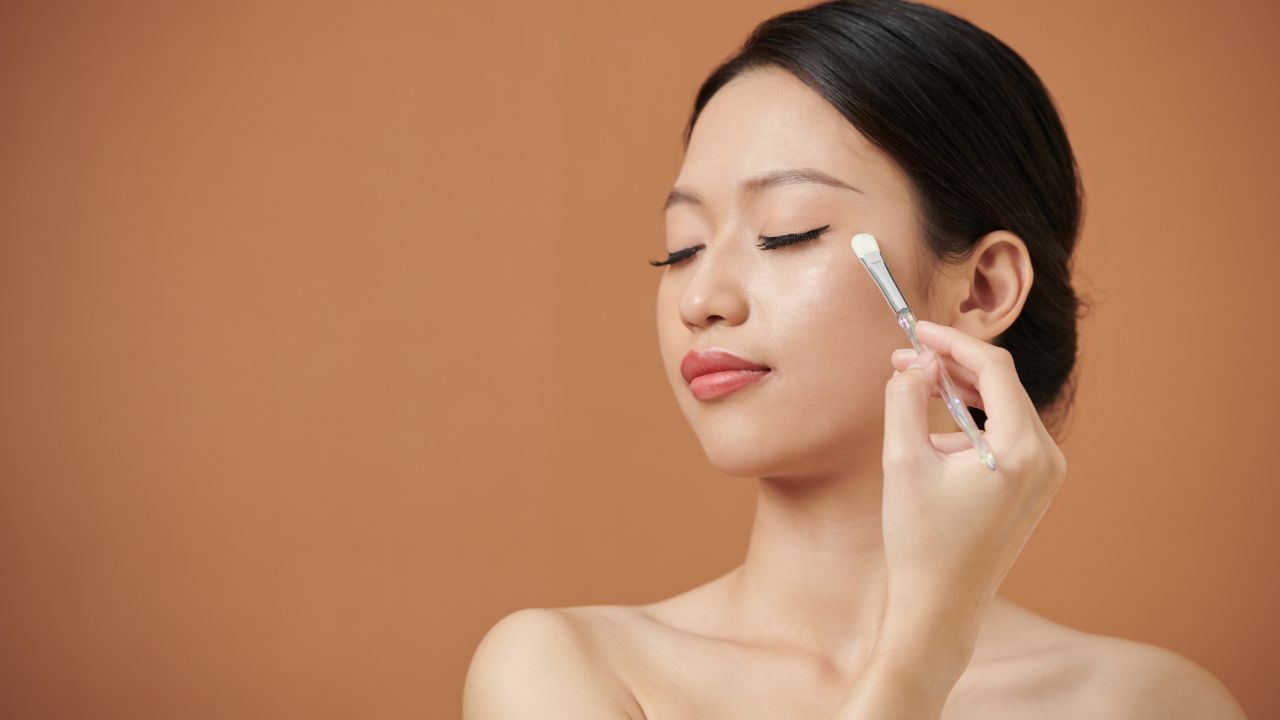
How to Apply Highlighter: Step-by-Step Guide
Mastering highlighter application is easier than you think—just follow these simple steps.
Step 1: Prep Your Skin
Start with a well-moisturized base. If you want extra radiance, use a dewy primer before foundation. Highlighter looks best on hydrated, smooth skin.
Step 2: Apply Foundation & Concealer
Even out your skin tone first. Highlighter works best on a smooth canvas, so blend your base makeup before layering on the product.
Step 3: Choose Your Tool
Not all tools work the same way, so picking the right one is key. If you’re using a powder highlighter, a fan or fluffy tapered brush works best. For liquid or cream formulas, a damp beauty sponge helps blend seamlessly. If you prefer using your fingers, the warmth of your hands can help melt cream or liquid highlighter into the skin for a more natural effect.
Step 4: Apply in Light Layers
Less is more when it comes to highlighter. Start with a small amount and build gradually. Overloading on highlighter can make skin look greasy.
Step 5: Blend, Blend, Blend
Harsh lines ruin the effect. Use a clean brush or sponge to diffuse edges so the highlighter looks natural.
Step 6: Set (If Needed)
If you have oily skin, a light dusting of translucent powder around highlighted areas keeps the glow in check. Avoid applying too much powder directly over the highlighter, it can dull the effect.
Bonus Tips for an Expert Glow
Want to take your shine to the next level? Try these pro-approved tricks:
- Layer different formulas for a more intense, long-lasting radiance. Apply a cream highlighter first, then set it with a powder.
- Use setting spray to lock in highlighter for all-day radiance.
- Dab some on your eyelids for a fresh, effortless shimmer.
- Opt for finely milled shimmer instead of chunky glitter for a more polished look.
Whether you love a soft or an intense shine, the right placement and formula make all the difference. Experiment, have fun, and find what works best for you!
Highlighter is basically fairy dust for the face✨ Love how this guide breaks down everything from a soft, candlelit glow to that ‘see-your-reflection-in-my-cheekbones’ shine. The perfect glow isn’t just about the product—it’s all in the placement, and this nailed it!